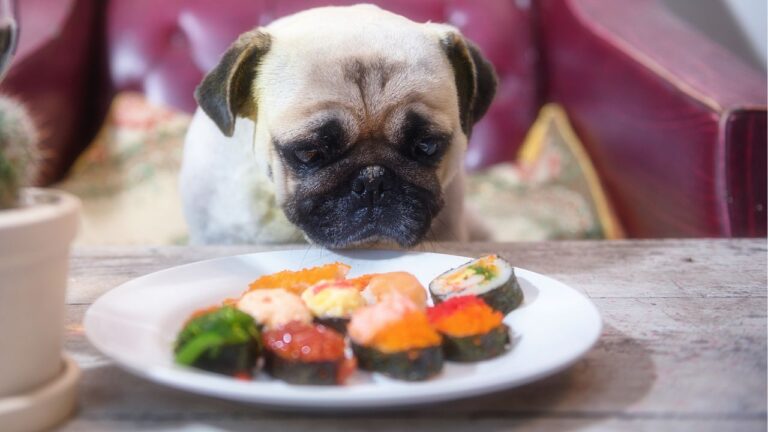
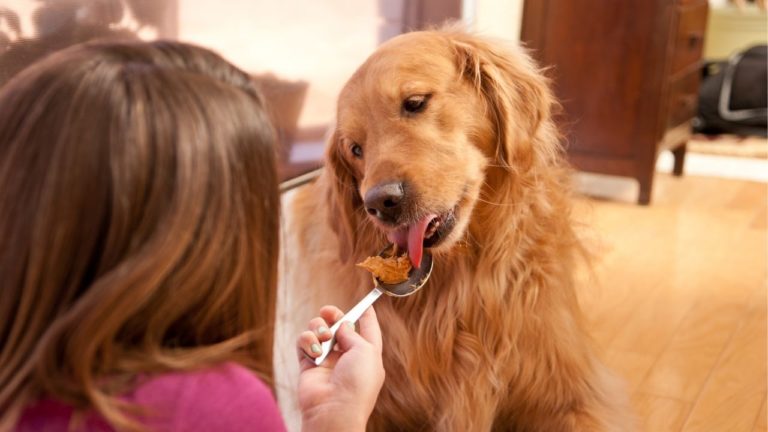
Homemade Jerky Treats for Dogs with Cancer

Looking for an irresistible, safe treat for your dog with cancer? Homemade jerky treats are simple, easy, and yummy.

Read Time: 7 minutes
You probably already know that most commercial dog treats are loaded with chemicals, preservatives, sugars, and weird stuff. Ugh. These aren’t only unnecessary — they are downright unhealthful. To the rescue: homemade jerky treats for dogs with cancer. They’re dead simple to make, easy to store, healthy, and dogs adore them.
Really, what could be better?
The Basic Idea Behind Homemade Jerky Treats for Dogs with Cancer
Jerky is the end result of long, slow heat applied to strips of chicken, beef, pork, lamb, bison … whatever protein you like.
Jerky is bone dry, and when you cut it open, it’s the same color through and through. And since fat and water are the only things lost during dehydration, the chewy and delicious jerky loses little to no vitamins, minerals, or protein.
Jerky: a Historical Strategy for Meat Preservation
Making jerky out of fresh meat is a practice as old as humanity, at least in the Americas. According to Jerky.com, the Incans made it and named it “ch’arki,” which translates into “dried meat” and sort of sounds like “jerky.”
Why Jerky Treats Are Safe for Dogs with Cancer
Dogs with cancer require a diet rich in omega-3 fatty acids, moderate protein, and low carbohydrates.
Jerky, especially jerky you make at home, fits these guidelines.
And it lasts! It stores in the fridge for two weeks and freezes beautifully. I make large batches and freeze portions for later use.
NOTE: I’m focusing on homemade jerky treats for dogs with cancer in this article, which means I’m leaving out the glorious dried fruit, nuts, herbs, and veggies you can make for yourself. If you’re interested in what else you can make at home, here’s a great book on dehydrated food.*
What About Commercial Jerky Treats for Dogs?
Dog food companies make plenty of jerky products but they often coat them with sugar, seasonings, salts, and preservatives. So unless you see a really clean ingredients list … let’s skip those, right?
Tools Needed for Making Jerky Treats at Home
Making jerky treats for your dog (or yourself) is dead easy. All you have to do is (safely) dehydrate strips of meat. It takes more time than tools … and the tools you need are probably already in your kitchen.
For all the recipes below, you can use your existing oven or toaster oven. The other tools you will need include a baking sheet, a cooling rack, and, sometimes, parchment paper.
Basic Universal Instructions for Oven Dehydrating
In general, these instructions will give you a good result no matter what protein you are dehydrating.
Set your oven to the very lowest temperature possible. On some ovens, this is 200°F, on others 250°F, and some just say “low” or “warm.”
Trim all visible fat and slice into thin slices. I like 1/8” thick slices because thinner slices dehydrate faster. But slices up to 1/4 inch can be used. Trimming the fat slows drying time and shortens shelf life. It’s easier to slice frozen meat, so throw fresh meat in the freezer for an hour to firm it up, and partially thaw frozen meat.
Place your protein on your cookie rack. If you are dehydrating smaller pieces (like liver slices) line your rack with parchment paper.
Put the rack on your baking sheet and the sheet in the oven.
After an hour, check for doneness. Depending on what you are dehydrating, the meat will take anywhere from 3 hours to 12 hours — or more — to dry out.
Keep testing every hour until it is done. How long this will take will vary by your oven, the amount of water in the protein, the thickness of the slices, etc.
Drain the fat out of the baking sheet occasionally if drippings accumulate. (They don’t always with lean protein.)
You have jerky when you don’t see any moisture at all in the strip and the color of the meat is the same all the way through. To test, take a slice out of the oven and cut it with a sharp knife.
Let it sit at room temperature for about 15 minutes to cool before eating/storing.
Store jerky in an airtight container or ziplock bag. Jerky is generally safe at room temperature for about two weeks, but I refrigerate mine. To freeze, pop the treats in a freezer-safe bag and remove as much air as possible before placing in the freezer.
Using a Dehydrator
If you have the counter space, or if you really get into dehydrating, consider getting a small food dehydrator.* (Like all kitchen appliances, there are many variations on the theme. You can go much more expensive, bigger, and get models with tons of bells and whistles!)
Why buy a dehydrator? Well, I don’t have one, but here are some reasons why you should consider one:
- A dedicated dehydrator is more efficient because you’re not heating up your whole oven. Using a dehydrator also leaves your oven free for other cooking tasks.
- Dehydrators dry at much lower temperatures and have a fan that circulates air continually. This makes the drying more even, so you don’t need to flip your protein often or at all.
- All of the instructions above about how to prepare your protein apply when you use a dehydrator, but when it’s time to pop your slices in the oven, you’ll instead put them in your dehydrator’s trays.
- Most dehydrators have preset temperatures and timers for various types of foods, like “meat,” “fruit,” “herbs,” etc. Use these features, but don’t expect them to be perfect. It might still be easier to check your jerky as you go.
- Even the least expensive dehydrators have timers that go for at least 48 hours and auto-shut-off features that leave them running safe, if a bit noisy. (The fan circulating the air naturally makes some sound.)
Ideas for Homemade Jerky Treats for Dogs with Cancer
Any protein your dog enjoys (and is not allergic to) will work using the basic instructions above.
Chicken, beef, pork, rabbit, bison, venison (my dogs’ personal fave), lamb, even fish are all possible. Liver jerky is not only a GREAT treat for dogs with cancer, it’s nearly irresistible. Talk about a quality of life treatment!
Following are just a few ideas and timing guidelines to start making homemade jerky. Remember, your results will vary, and you should be testing for doneness. Don’t rely on this or any other recipe to tell you when your drying is done.
Once your protein is dry and moisture-free, with the same color throughout the slice, you’ve got jerky!
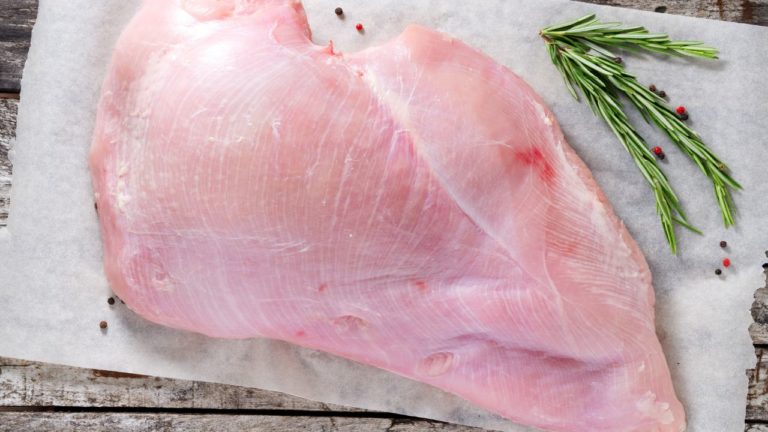
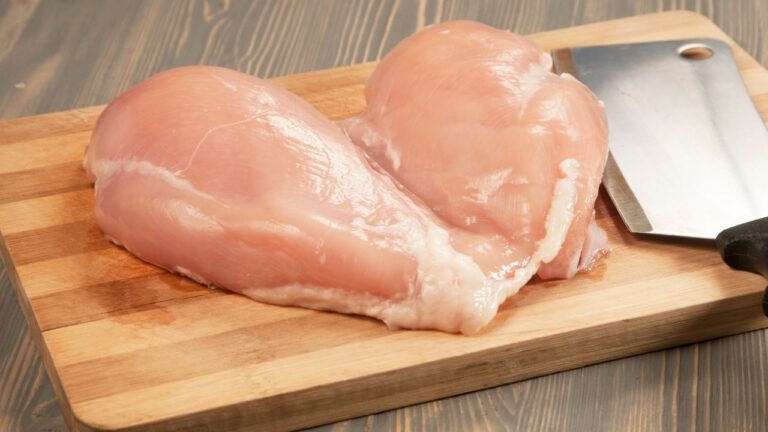
Chicken Jerky Treats
Buy boneless, skinless chicken breasts. If you buy frozen chicken, that’s fine; just let it thaw partially before slicing.
Trim off all visible fat, and slice the long way, with the grain, to make the treats as chewy as possible. Slice into 1/8″ to 1/4″ slices. (The thicker, the longer to dry out.)
These proteins dry in about 3.5 hours in the dehydrator and probably 4 to 5 hours in the oven.
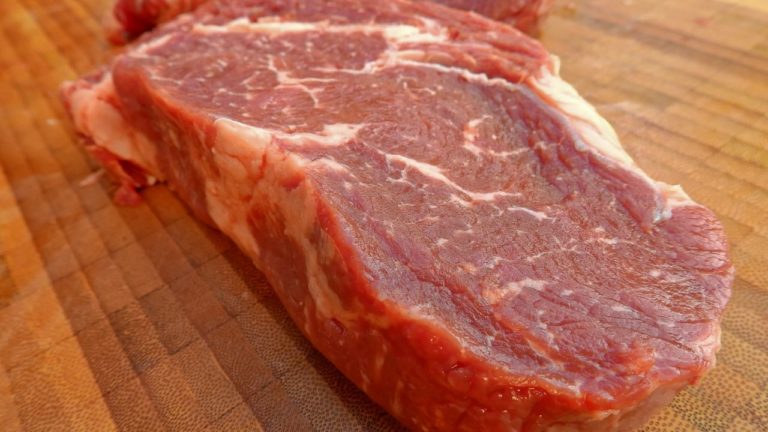
Beef Jerky Treats
Buy as lean a cut of beef as you can find. Trim off all the visible fat, slice into 1/8″ to 1/4″ slices, and dehydrate for about 4 hours (more or less, depending upon the cut and the thickness of your slices).
Remember that beef tends to have a higher fat content, so if you are dehydrating in the oven, you should drain the fat occasionally.
Organ Meat Jerky Treats (YUMMMMMMMM Dogs All Over the World Think as I Type This Section!)
We assume that muscle meat is super-nutritious due to its high protein content… and forget that most of the actual vitamins and minerals are stored in organs, like the liver and heart.
Liver is already a major feature in Dr. Dressler’s dog cancer diet, so if you make these, be careful not to overdo it on the treats. Don’t think of them as food but as unique, oh-my-word, I-can’t-believe-how-much-my-dog-loves-these treats.
Use the liver or heart from any protein source you like. If you can’t find it in your local market, just ask the butcher — they usually have it or can order it.
Partially freezing it when you get home will help to slice the slippery stuff. Slice into 1/8″-3/8″ pieces, lay it out on your trays, and dehydrate for 3-12 hours. Remember — the thicker you slice your organ meat, the longer it will take to dry out!
Your pup’s favorite ever ever ever treats are done when they are the same color throughout, dry, and moisture-free.
Warning: if you don’t like the smell of liver cooking, watch out. These are, ermmm … aromatic.
Must-Eat Meat Treats
Here’s a great option if you have a little time. Mix ground beef, bison, pork, or any other protein with chopped liver, hearts, and other organ meats (lung, if you can get it, which I can’t usually). Use the organs of any protein — your dog will love it all.
Get the mix uniform — using your hands is usually best. Put the meat on a piece of parchment paper and use your hands to flatten it down until it is very, very thin, about 1/8″. If you use a dehydrator, use the included mat they recommend for fruit roll-ups. That mat is perfect for this recipe.
Once flattened, use a table knife to cut the meat into 1″ squares, a little smaller if you have tiny doggies. Leave the meat, scored, but not sharply cut, on the parchment or mat and transfer it to your dehydrator or oven. Dehydrate for about twelve hours, draining grease halfway through. You might also have to replace the parchment underneath.
When your treats are uniform in color and moisture-free, remove them and break them off into their bite-size pieces. These freeze nicely!
Sausage Treats
I got this recipe idea from KolchakPuggle.com, and it’s a good one, and my dogs are salivating for it. Plus, it’s super simple. Such a good idea!
Get some low-fat turkey sausages. If you have a big dog, dry the sausages whole, and if you have a smaller dog, slice them into 1/4″ rounds. Dry for 6-12 hours. They’ll be done when they are the same color throughout and have zero moisture in the center.
Note: Commercially available sausages are usually packed with flavorings and preservatives and, often, intense spices. I will ask the butcher at my local market to give me plain, unspiced turkey sausages instead.
Fish Treats
Here on Maui, I have access to fresh-caught fish year-round, and poke, a native Hawaiian fish salad, is a staple in my diet. (My dogs have been known to have a bite or two, too.) But even if you don’t use fresh fish, you probably have some great fish in your pantry right now: canned white-fleshed fish, like tuna, packed in water.
Open the can, break the fish into chunks, and spread it out on your dehydrator trays. If you are using (very!) fresh fish, slice it into strips or pieces before laying it out on your trays. Dehydrate for 6-10 hours.
Seasonings Safe for Dogs with Cancer
Be suspicious if your dog looks at you with a “where’s the flavor” look. I’ve never known a dog who didn’t love plain, unseasoned meat strips. But if you would like to add some flavor to your treats, dog-friendly herbs like parsley, rosemary, and sage all work. Some use minced garlic, but I find that it’s just too smelly over the long drying time, and garlic salts are too concentrated and salty for your pups and should never be used.
Chop your herbs very, very fine. After you slice your protein, coat them with olive oil, roll them in the herbs, and then dehydrate as usual. The time will be longer due to the oil, and they will not be as “fat-free” as the non-flavored version, so dole them out sparingly.
Editorial Note: This post was originally published on a retired blog about dog cancer.
*Affiliate Link

Molly Jacobson
Topics
Did You Find This Helpful? Share It with Your Pack!
Use the buttons to share what you learned on social media, download a PDF, print this out, or email it to your veterinarian.